
The development of AI Agents is taking artificial intelligence beyond conventional question-and-answer functions. Instead of simply generating content, AI Agent Clawbot can receive objectives, select tools, and carry out multi-step tasks on a user’s device. However, the system also requires configuration knowledge, access permission management, and result verification. This Ohtez‘s article will help you understand how Clawbot works, how to install it, and how to use it for practical needs.
What is AI Agent Clawbot?
AI Agent Clawbot, also known as OpenClaw or Moltbot, is an open-source AI assistant that can run on a personal computer or private server. The system connects a language model with tools, data files, and messaging applications to receive requests and perform tasks according to assigned objectives.
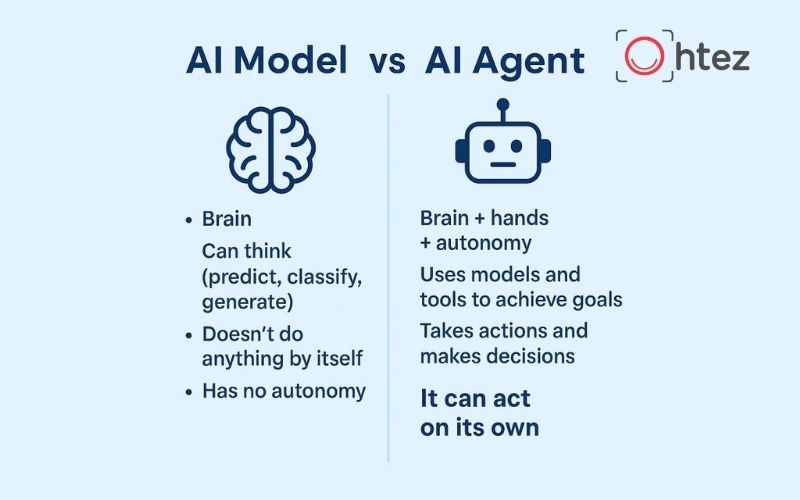
Unlike chatbots that mainly generate responses, AI Agent Clawbot can maintain context, use tools, and coordinate multiple steps within the same task. For example, the Agent can read documents, summarize information, create reports, or send results through a connected communication channel.
Thanks to its open-source architecture and self-hosting capabilities, users can customize Skills, AI models, and access permissions. However, Clawbot’s effectiveness still depends on its configuration, prompt quality, and the level of security control maintained during operation.
How AI Agent Clawbot works
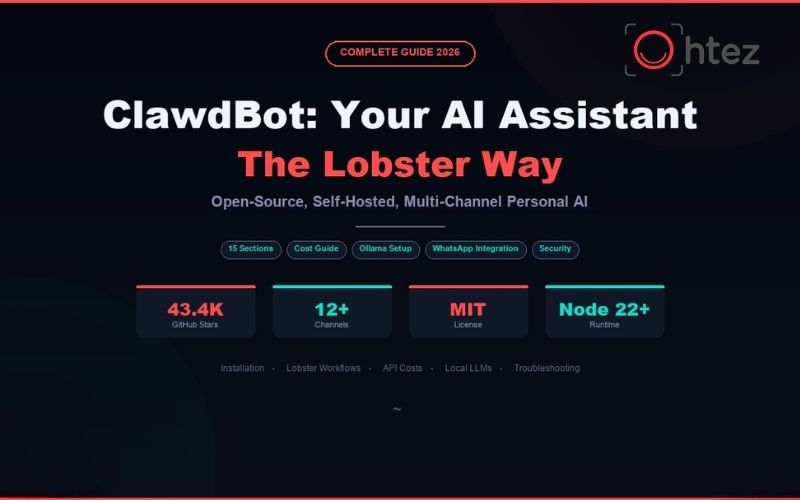
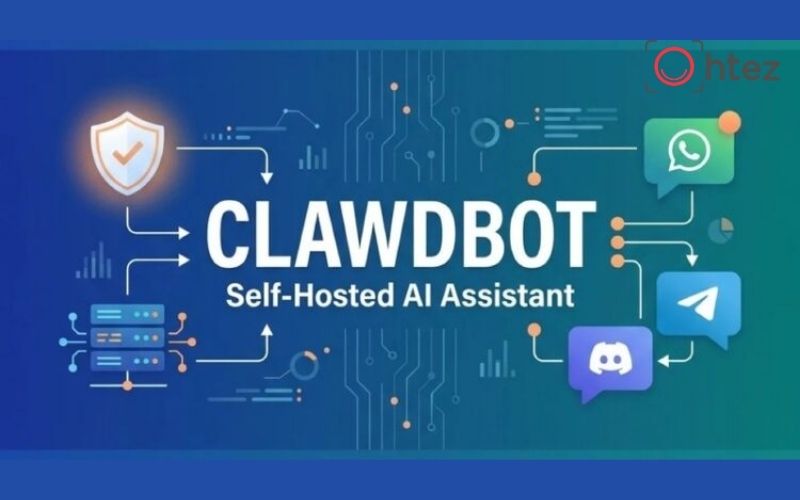
AI Agent Clawbot operates through coordination between the Gateway, language model, sessions, tools, and Skills. Users submit requests through messaging applications, a web interface, or the CLI. The Gateway receives the information and forwards it to the Agent for analysis.
AI Agent Clawbot then identifies the appropriate tool, performs the action, and returns the result through the correct channel. This structure allows the system not only to “talk” but also to interact with files, browsers, or authorized services.
How AI Agent Clawbot works
The Gateway receives and coordinates requests
The Gateway is the coordination center of AI Agent Clawbot. This component manages channel connections, conversation sessions, request routing, and Agent statuses. A single Gateway can support multiple configured channels, such as WebChat, Telegram, Slack, or Zalo.
When a user sends a message, the Gateway identifies the session and the Agent responsible for processing it. OpenClaw documentation describes the Gateway as the central source of information for sessions, routing, and channel connections. Therefore, a Gateway error can cause the assistant to lose its connection even when the AI model is still operating normally.
The AI model analyzes the objective
The language model provides the reasoning capabilities of AI Agent Clawbot. It reads the request, reviews the context, breaks down the task, and decides whether to respond directly or use a tool. The quality of the model significantly affects its ability to understand objectives and select appropriate actions. OpenClaw supports API configurations from multiple model providers. Users should choose a model powerful enough for multi-step tasks while controlling token limits and costs. For important requests, users should not assume that every reasoning result will always be accurate.
Skills perform individual actions
Skills help AI Agent Clawbot understand when and how to use a tool. Each Skill is usually a folder containing a SKILL.md file that describes its name, usage conditions, and task execution process through written instructions.
The system can load built-in Skills, personal Skills, or Skills stored in the workspace. Users can also install Skills from source-code repositories. Before enabling a community Skill, users should read its contents and review its permissions because the Skill may be able to access environment variables, API keys, or system tools.
The observation, action, and verification loop
When processing a task, AI Agent Clawbot can repeatedly follow a cycle of reading the current state, selecting an action, receiving the result, and continuing to the next step. For example, the Agent can open a file, analyze the data, create a report, and save the result in a specified folder.
This multi-step mechanism creates autonomy, but it also increases the risk of incorrect or unnecessary repeated actions. Users should therefore define clear objectives, limit the operating scope, and require the Agent to request confirmation before sensitive actions such as deleting files, sending emails, or running system commands.
What can Clawbot automate?
What can Clawbot automate?
The capabilities of AI Agent Clawbot depend on the AI model, Skills, integrated tools, and granted permissions. The system can support various personal and business tasks, including:
- File and system task management: AI Agent Clawbot can read, create, convert, and merge files according to the setup process. Permissions should be limited to a separate workspace, and confirmation should be required before modifying or deleting data.
- Automated browser functionality:Agents can access the website, collect information, input data, and read metrics from the admin page. The process may be interrupted when the interface changes or the login session expires.
- Gather data and generate reports: AI Agent Clawbot can collect, classify, and present data into structured reports. Users need to provide clear sources, time periods, and criteria to increase accuracy.
- Coordination via messaging app:The gateway helps agents receive tasks and send results through integrated communication channels. It’s necessary to limit who is allowed to send commands and avoid making the bot publicly accessible.
Although AI Agent Clawbot can automate many tasks, it does not automatically gain access to every service. Users still need to configure integrations, provide authentication information, and establish security policies. It is advisable to begin with small, low-risk tasks before expanding to critical workflows.
Clawbot installation guide
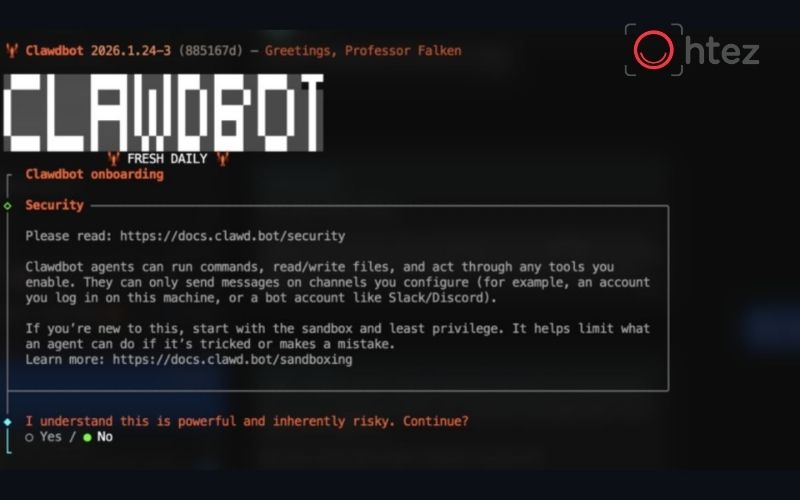
There are several ways to install AI Agent Clawbot, including npm, Docker, the official installer, or source code downloaded from GitHub. For beginners, installing it through npm and using the onboarding process is simpler and easier than building the source code manually. Before starting, Clawbot should be installed on a test machine or under a separate operating system account. This helps reduce risks caused by incorrectly configured access permissions, Skills, or environment variables.
Clawbot installation guide
Step 1: Check the system requirements
The device needs an internet connection, software installation permissions, and sufficient resources to run the Gateway. AI Agent Clawbot recommends Node.js 24.15 or later. Check the installed Node.js version with the following command:
node –version
You also need to prepare an API key or another authentication method from the AI model provider. On Windows, you can use PowerShell, Windows Hub, or a WSL2 environment.
Step 2: Install Clawbot from GitHub
When you only need to use AI Agent Clawbot, you can install the latest version through npm:
npm install -g openclaw@latest
If you want to study or customize the source code, clone the correct official repository:
git clone https://github.com/openclaw/openclaw.git
Forks from unknown sources should not be used because their source code may have access to API keys, files, and system permissions.
Step 3: Configure the AI model and API
After installation, run the onboarding program using the command:
openclaw onboard –install-daemon
The system will guide you through selecting the AI model, entering authentication information, and setting up the Gateway. The API key should be stored in an environment variable or a secret management tool, not written directly to the source code.
Messaging channels and Skills can be configured later using the following command:
openclaw configure
Step 4: Check Clawbot after startup
Check the Gateway status using the command:
openclaw gateway status
Next, open the management interface using:
openclaw dashboard
Gateways typically operate on ports.18789. When the Control UI opens in the browser, send a simple request to test the response capabilities of AI Agent Clawbot.
Before establishing a remote connection, you should run the following command:
openclaw security audit
This command helps check access permissions, network configurations, plugins, execution tools, and common security risks.
AI Agent Clawbot setup
Clawbot User Guide for Beginners
When first using AI Agent Clawbot, you should begin with a simple task that has clear input and easily verifiable results. Do not grant broad permissions or immediately assign tasks involving important data. After each run, check the response, tool logs, and any changes made to the system. Testing the system step by step helps identify problems with prompts, Skills, or access permissions at an early stage.
Step 1: Create the first task for Clawbot
The first task should be small in scope and low-risk, such as reading some test files and summarizing their contents. When assigning tasks, you need to clearly describe the file to be processed, the expected results, the output format, and the operations the Agent should not perform.
Example of a prompt:
Read the files.txtIn the test folder, summarize the content into 5 main points, save the results as Markdown, and do not edit the original file.
This instruction is more specific than a general request such as “process the documents.” As a result, AI Agent Clawbot can correctly identify the scope of work and generate an output that is easier for the user to verify.
Step 2: Configure Skills and access permissions
Skills help Clawbot understand how to use tools and perform different types of tasks. However, users should install only the Skills they genuinely need rather than enabling too many features from the beginning. Before using a Skill, review the contents of its SKILL.md file, installation source, included dependencies, and the tools it can access. You should also determine whether the Skill uses API keys, runs system commands, or interacts with data files.
The key principle is to grant the minimum level of access. AI Agent Clawbot should only be able to access the specific folders, APIs, and tools required for the task. This configuration reduces risk when the Agent misunderstands a request or a Skill does not operate as expected.
Configure Skills and access permissions
Step 3: Write clear and executable requests
The quality of the output depends heavily on how the user writes the prompt. A good request should clearly include four elements: the objective, input data, scope limitations, and completion criteria.
For example:
Aggregate the June data from the files in folder A, do not use external sources, do not modify the original data, and save the report in Markdown format.
For tasks involving multiple steps, you should ask AI Agent Clawbot to present its plan before taking action. This allows the user to review the proposed approach, identify unsuitable steps, and make adjustments before the Agent interacts with the system.
Step 4: Monitor and check the results
You should not rely solely on the final response to determine whether a task has been completed accurately. Users need to review the source data, tool logs, executed commands, and any files that have been created or modified. For sensitive actions such as sending emails, deleting files, updating data, or running system commands, a manual confirmation step should be required before execution. This helps maintain control and prevent unwanted changes.
After each run, record any errors and adjust the prompt, Skill, or access permissions. When AI Agent Clawbot frequently selects the wrong tool, the cause may be an unclear request, an incomplete Skill description, or permissions that are too broad.
Monitor and check the results
AI Agent Clawbot is worth considering when you want to build an AI assistant that can automate tasks on your own infrastructure. Thanks to its flexibility, open-source architecture, and ability to expand through Skills, Clawbot is suitable for both individual users and businesses. However, effective use requires proper configuration, access control, and step-by-step testing. When deployed correctly, AI Agent Clawbot can become a powerful and long-term productivity tool.
Frequently asked questions about AI Agent Clawbot
1. Is Clawbot free?
AI Agent Clawbot is an open-source project, it can be downloaded and installed for free. However, users may still incur costs for AI model APIs, servers, or integration services. If running on a personal computer and using the free plan, the initial cost is quite low. For frequent tasks, it’s advisable to monitor tokens and set budget limits.
2. Does Clawbot support Vietnamese?
AI Agent Clawbot may be possible to understand and respond in Vietnamese if the connected AI model provides good support for this language. Output quality also depends on the prompt, contextual data, and the skills being used. For specialized content, clear terminology, examples, and formatting should be provided. Figures, proper names, or important information still need to be double-checked.
3. Does Clawbot run on mobile phones?
Users can control AI Agent Clawbot via a messaging app or a connected mobile node on your phone. However, the main gateway usually runs on a computer, VPS, or other always-on device. The most stable approach is to run the system on a server, then use your phone to send requests, monitor progress, and receive results remotely.
4. Can someone who doesn’t know how to program use it?
Even people without programming knowledge can use the basic functions of AI Agent Clawbot through the onboarding process and Control UI interface are basic. However, technical knowledge will be needed for API connections, skill installation, error handling, and permission management. Beginners should start with default configurations and simple tasks. For enterprise processes, a technical expert should test the system before operation.